


There are lots of articles on how to create a navigation drawer in Android but they are all slightly different with some extending ActionBar and some extending Activity. I wanted to extend AppCompatActivity as this is the most up to date version to use.
The notes at: https://developer.android.com/training/implementing-navigation/nav-drawer.html are ok but it doesn’t explain step by step what to do. The sample code is great because it works but you have to go and decipher everything. Here is what needs to be done from my perspective.
Step 1:
Create a sample project via New > Project and blank activity.
Step 2:
Replace the XML from activity_mail with this:
<android.support.v4.widget.DrawerLayout
    xmlns:android="http://schemas.android.com/apk/res/android"
    android:id="@+id/drawer_layout"
    android:layout_width="match_parent"
    android:layout_height="match_parent">
    <!-- The main content view -->
    <FrameLayout
        android:id="@+id/content_frame"
        android:layout_width="match_parent"
        android:layout_height="match_parent" />
    <!-- The navigation drawer -->
    <ListView android:id="@+id/left_drawer"
        android:layout_width="240dp"
        android:layout_height="match_parent"
        android:layout_gravity="start"
        android:choiceMode="singleChoice"
        android:divider="@android:color/transparent"
        android:dividerHeight="0dp"
        android:background="#111"/>
</android.support.v4.widget.DrawerLayout>
And delete content_main.xml. It is not required.
Step 3:
Define the stock standard
- DrawerLayout
- ListView
- ArrayAdaptor
You need a list view because the nav drawer will be displaying a list view. You need a drawer layout because you’ve decided to use a drawer layout. You need an adaptor because a list view is dumb and needs an adaptor.
private DrawerLayout mDrawerLayout;
private ListView mDrawerList;
private ArrayAdapter mStringAdaptor;
Step 4:
mDrawerLayout = (DrawerLayout) findViewById(R.id.drawer_layout);
mDrawerList = (ListView) findViewById(R.id.left_drawer);
This is Android 101 so if you are not sure about the above line, do a hello world Android project. Basically it is getting a reference of the XML view that you’ve just created.
Step 5:
Next you want to create an adaptor.
// init adaptor
mStringAdaptor = new ArrayAdapter<String>(this, R.layout.drawer_list_item, mStringOfPlanets);
This adaptor tells android to take the data, in this case the strings from mStringsOfPlanets and link it to R.layout.drawer_list_items.
But hang on a second. What are mStringsOfPlanets and R.layout.drawer_list_items? Place this at the top of your class:
private String[] mStringOfPlanets;
and place:
<string-array name="planets_array">
    <item>Mercury</item>
    <item>Venus</item>
    <item>Earth</item>
    <item>Mars</item>
</string-array>
In your string.xml file. Then create drawer_list_item.xml and place this inside:
<TextView xmlns:android="http://schemas.android.com/apk/res/android"
    android:id="@android:id/text1"
    android:layout_width="match_parent"
    android:layout_height="wrap_content"
    android:textAppearance="?android:attr/textAppearanceListItemSmall"
    android:gravity="center_vertical"
    android:paddingLeft="16dp"
    android:paddingRight="16dp"
    android:textColor="#fff"
    android:background="?android:attr/activatedBackgroundIndicator"
    android:minHeight="?android:attr/listPreferredItemHeightSmall"/>
What we just did was set up some strings constants that we want to display and created a simple TextView to display it in.
Step 6:
The final piece of the puzzle is to set the adaptor:
// Set the adapter for the list view
mDrawerList.setAdapter(mStringAdaptor);
Step 7:
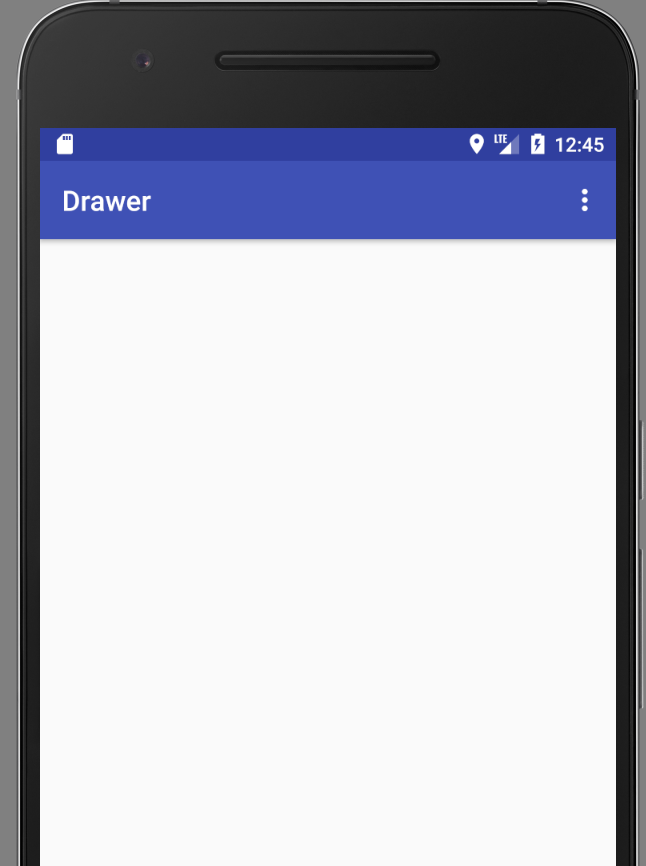
Now if you run this, the navigation drawer should work but you’ll notice you won’t have a toolbar. Or action bar as it use to be called.


If you want to use the new built in toolbar change your activity_main.xml to
<android.support.v4.widget.DrawerLayout xmlns:android="http://schemas.android.com/apk/res/android"
    xmlns:app="http://schemas.android.com/apk/res-auto"
    android:id="@+id/drawer_layout"
    android:layout_width="match_parent"
    android:layout_height="match_parent">

    <LinearLayout
        android:layout_width="match_parent"
        android:layout_height="match_parent"
        android:orientation="vertical">

        <android.support.design.widget.AppBarLayout
            android:layout_width="match_parent"
            android:layout_height="wrap_content"
            android:theme="@style/AppTheme.AppBarOverlay">

            <android.support.v7.widget.Toolbar
                android:id="@+id/toolbar"
                android:layout_width="match_parent"
                android:layout_height="?attr/actionBarSize"
                android:background="?attr/colorPrimary"
                app:popupTheme="@style/AppTheme.PopupOverlay" />

        </android.support.design.widget.AppBarLayout>

        <!-- The main content view -->
        <FrameLayout
            android:id="@+id/content_frame"
            android:layout_width="match_parent"
            android:layout_height="match_parent" />

    </LinearLayout>
    <!-- The navigation drawer -->
    <ListView
        android:id="@+id/left_drawer"
        android:layout_width="240dp"
        android:layout_height="match_parent"
        android:layout_gravity="start"
        android:background="#111"
        android:choiceMode="singleChoice"
        android:divider="@android:color/transparent"
        android:dividerHeight="0dp" />
</android.support.v4.widget.DrawerLayout>
What you are doing here is wrapping the fragment within a linear layout with the toolbar just above it. Don’t forget to inflate it via:
Toolbar toolbar = (Toolbar) findViewById(R.id.toolbar);
setSupportActionBar(toolbar);
Now you should see the tool bar at the top.
Hey Thanks Sir