


I had always used Win32 Disk Imager to create my Raspberry Pi images because I was a windows person prior to my conversion to Mac. To be honest, Win32 Disk Imager was really simple v trying to understand command line such as:
sudo dd bs=1m if=path_of_your_image.img of=/dev/rdiskn
I finally took the leap and gave it a go on a Mac.
There are several resources showing how to do this. http://elinux.org/RPi_Easy_SD_Card_Setup#Flashing_the_SD_card_using_Mac_OS_X shows lots of different apps that can do the job such as:
- Pi Filler
- ApplePi-Baker
- PiWriter
- Etcher
Other options include:
- System tools
- CMD tools (1)
- CMD tools (2)
Which one to choose? I used https://www.raspberrypi.org/documentation/installation/installing-images/mac.md
The main command line to run is sudo dd bs=1m if=path_of_your_image.img of=/dev/rdiskn as mentioned above.
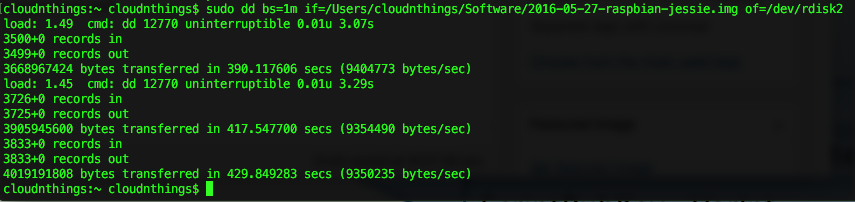
The worst part is that you don’t get a progress bar but if you hit CTRL-T you’ll get an update of how many records in and out. It took about 5 minutes with the longest part downloading the image.
In the end, it wasn’t that hard. The tricky part is trying to remember the syntax.