Uploading any files to Amazon S3 using the command line (CLI) or terminal is very easy if you follow these steps.
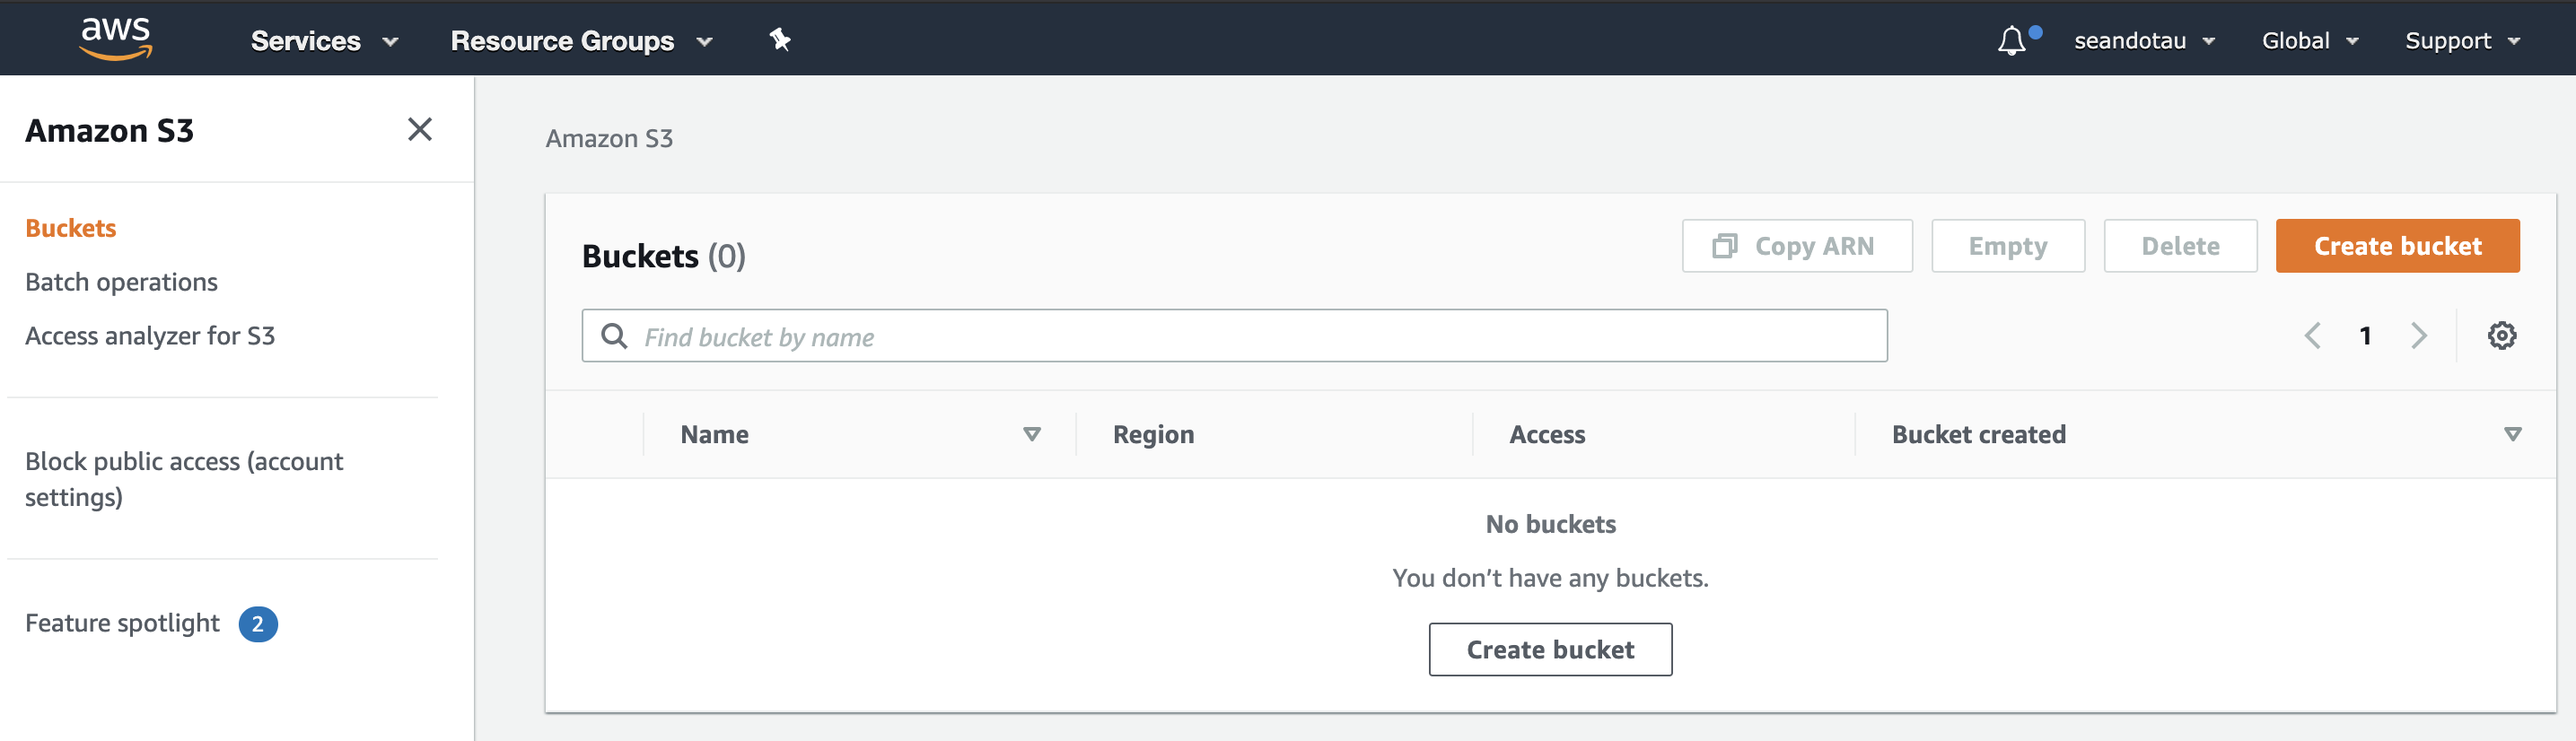
Step 1: Create an S3 bucket
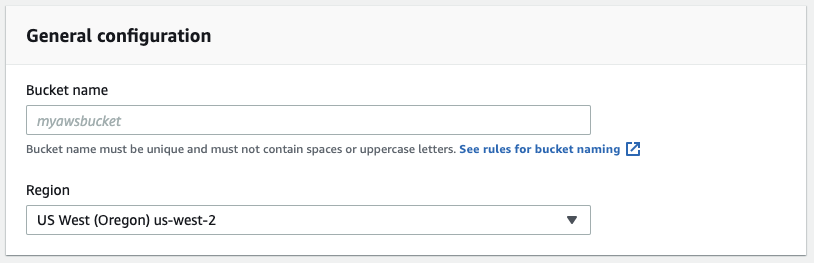
Log into your console and create a bucket.
Take note of your bucket name and the region. Here, my region is “us-west-2”
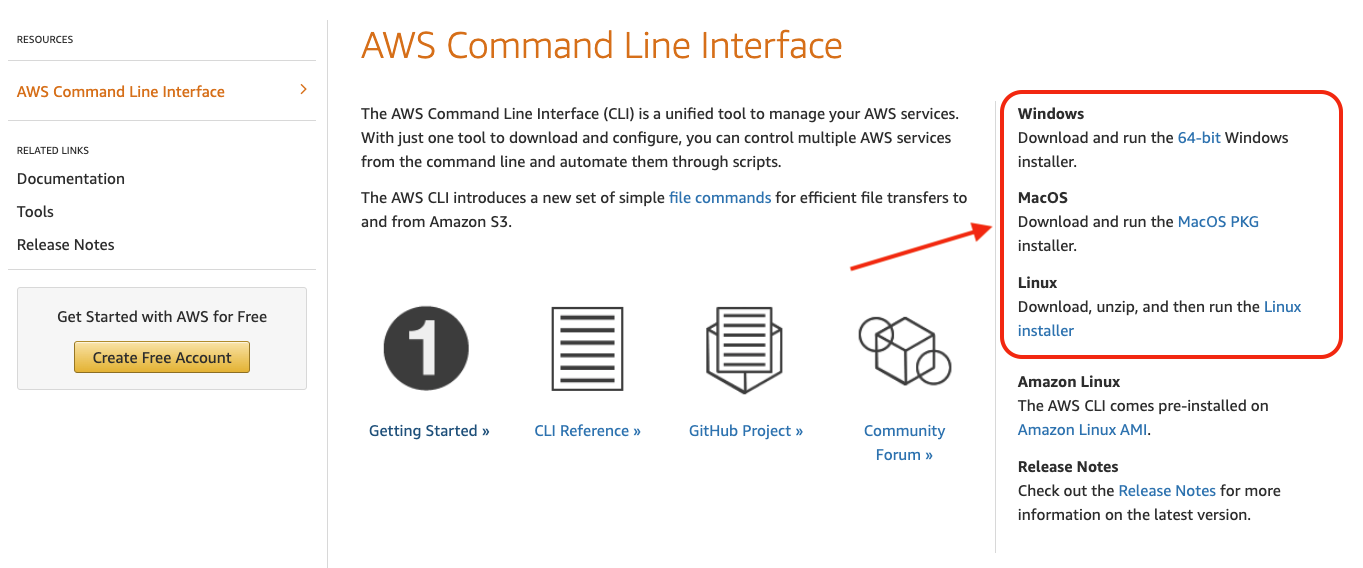
Step 2: Download AWSCLI
Visit https://aws.amazon.com/cli/ and download AWSCLI for your system.
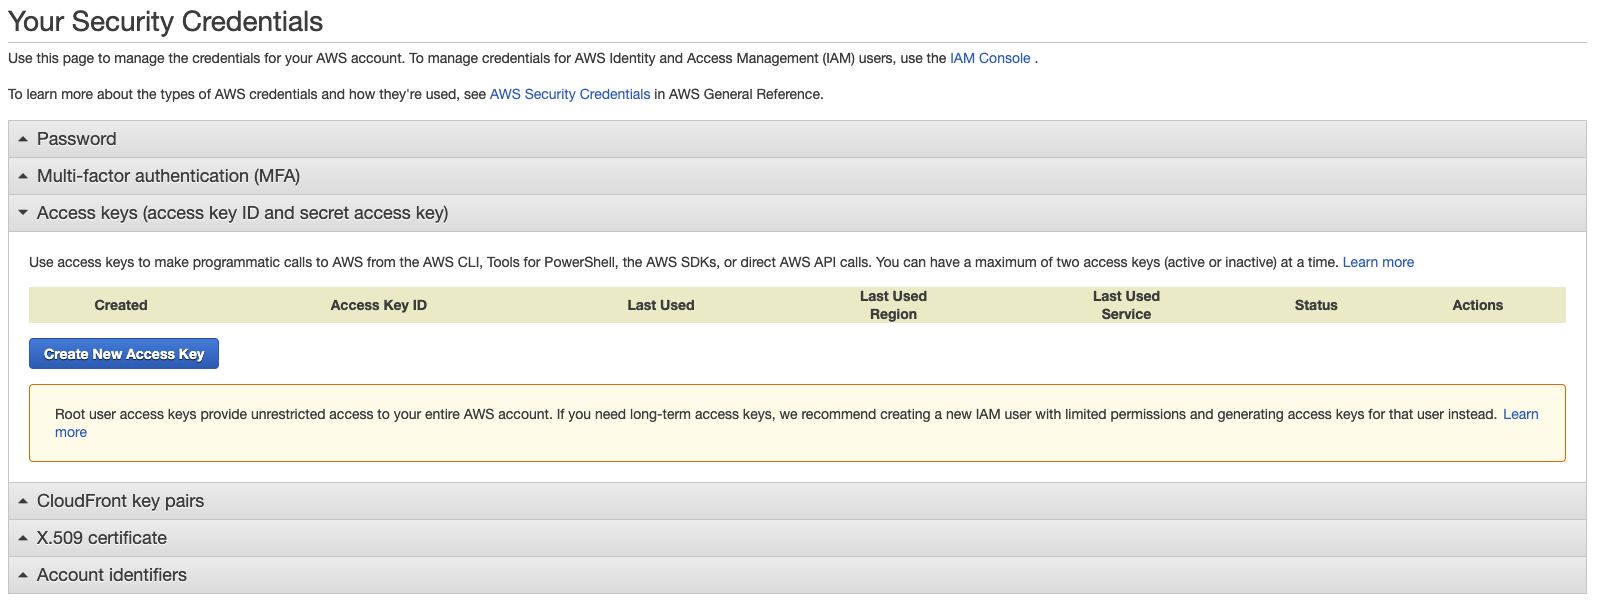
Step 3: Create access keys
Back in the AWS Management Console, click on your profile name and select “My Security Credentials”
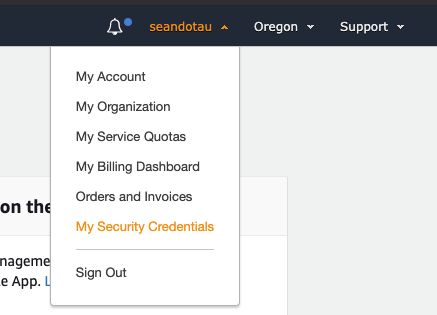
Create new access keys.
Step 4: Set access credentials in AWSCLI
Open up a terminal and type:
> aws configure list
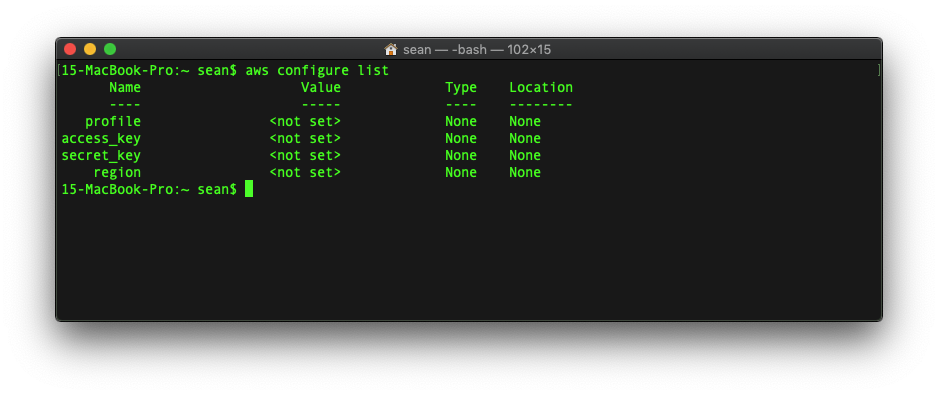
You should have nothing set. Type:
> aws configure
and enter your AWS access key ID, AWS secret access key, default region name and default output format. You’ll need the region name you selected earlier and set the default output format to “json”.
For more information, check out the AWS documentation. Then type aws configure list again to confirm the settings have been applied.
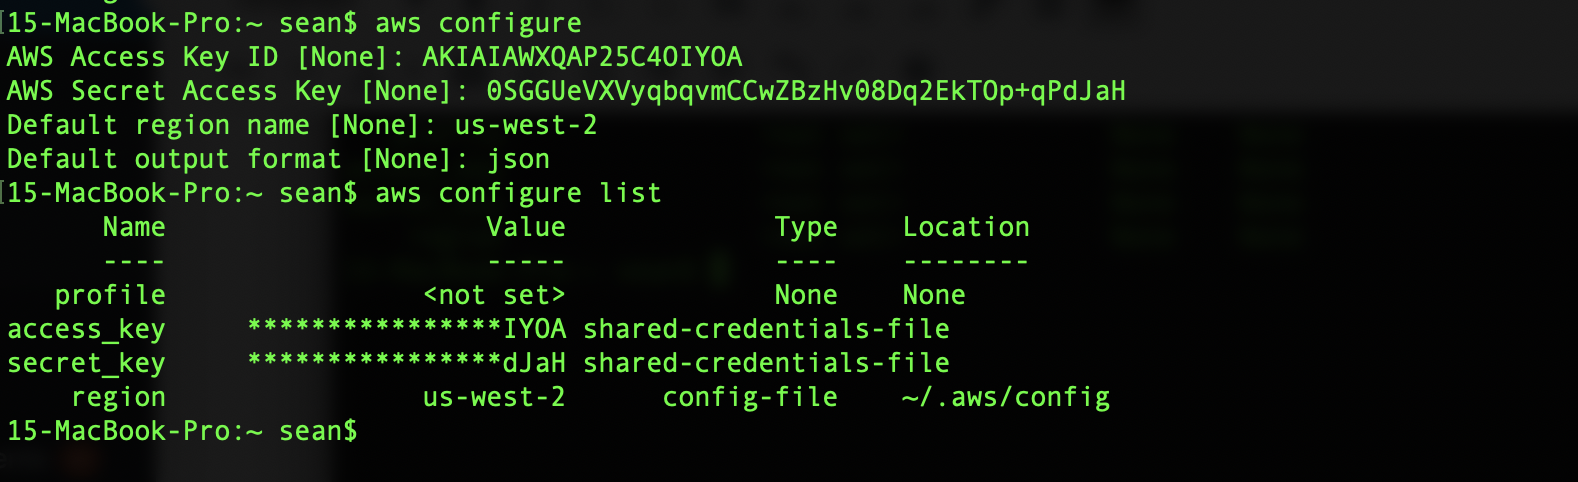
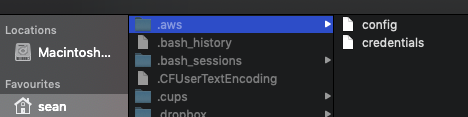
You should also notice a hidden folder called .aws in your home directory.
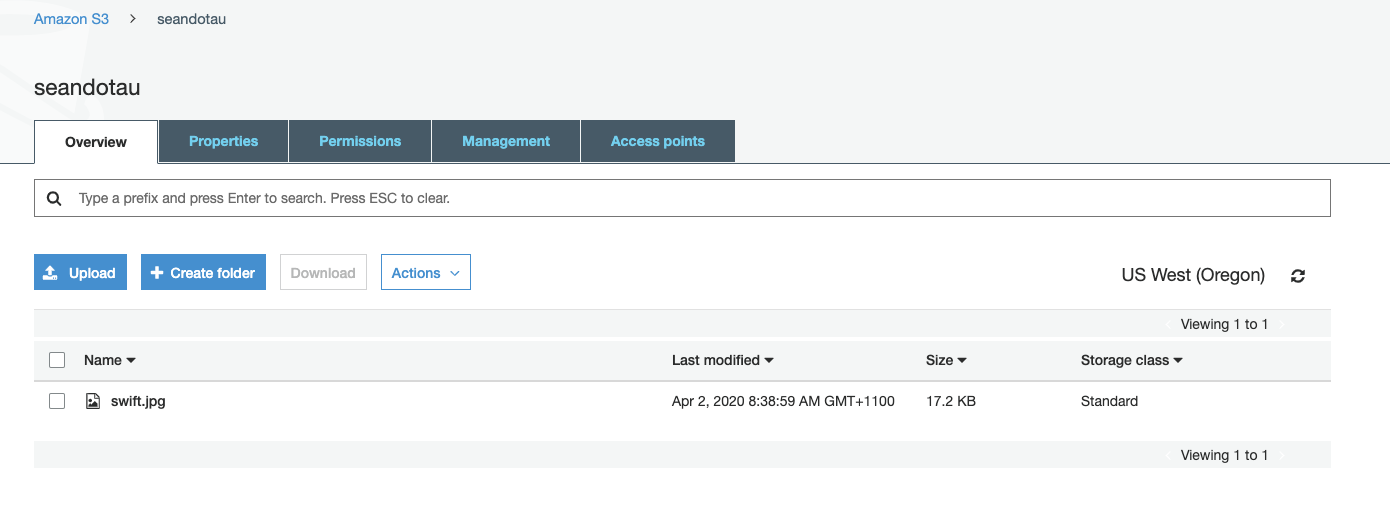
Step 5: Upload a sample file into S3
Now run the command to upload a file:
> aws s3 cp <file-to-upload> s3://<your-bucket-name>
> aws s3 cp Downloads/swift.jpg s3://seandotau

Then refresh your bucket console and you should see your file appear.